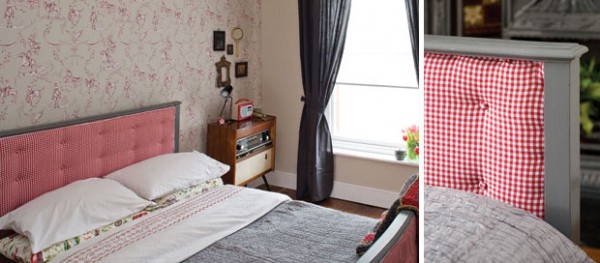
We transformed this old wooden bed bought in an auction into a cute and chic guestroom centrepiece. It’s not as difficult as it looks so find out how to do it below and give it a go. And don’t forget to email us a photo of your finished piece.
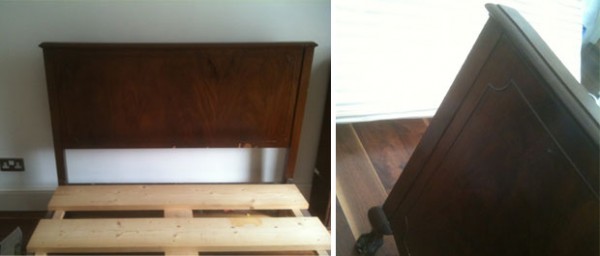
Before:
After:
What you need
- Glue Gun (we picked up a Stanley one at Homebase for less than €20)
- Staple Gun
- Wadding (bought at Hickeys Fabrics)
- Gingham Fabric or other upholstery quality fabric.
- Self cover buttons (bought at Hickeys Fabrics).
- Paint for the bed. We used grey undercoat followed by Crown satin finish LN.02.47 from Crown Paints.
Difficulty Rating
- Not as difficult as it looks.
- Some sewing skills are helpful but not entirely necessary.
Step One
Prepare the bed frame with a coat of undercoat and allow to dry.
Paint the frame using the satin finish in a colour of your choice. We just painted the bits that would be visible after upholstering.
Step Two
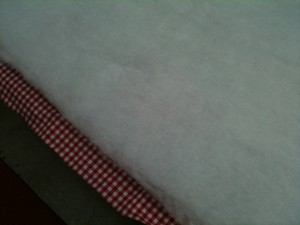
Cut the wadding to the exact size of the main headboard piece. Cut the fabric approx one inch larger all around the wadding. You can pin the wadding to the fabric to make it easier. Next turn the one inch of fabric under the wadding and sew the wadding to the fabric all round. (You could try pining it if don’t have a sewing machine).
Step Three
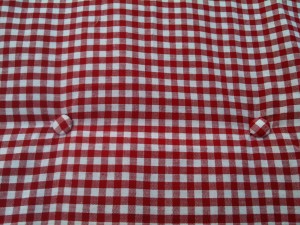
Next we covered the buttons following the instructions on the packet. We laid them out evenly on our fabric and sewed them in place.
Step Four
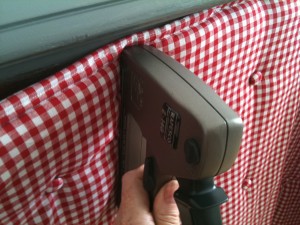
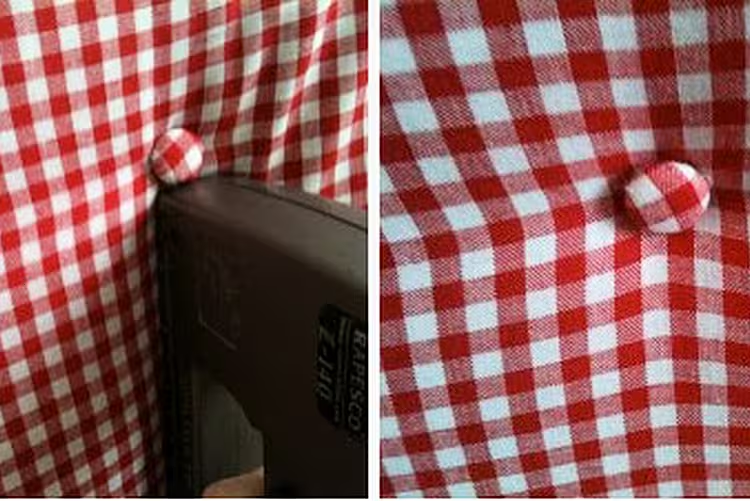
We then stapled the fabric to the timber approximately 2cm from the edges . Turn the fabric edge in before you staple in place to get a neat edge.
Step Five

To create the ‘indent’ of the button on the headboard, we stapled under each button close to the button shank.
Step Six
Follow the same process for the other faces of the headboard. We did the inside and outside faces of the bed end in our project as well as the visible surface at the top of the bed.
Step Seven

Cut a length of rope trim which will be used to cover the visible staples and attach using the hot glue gun.


