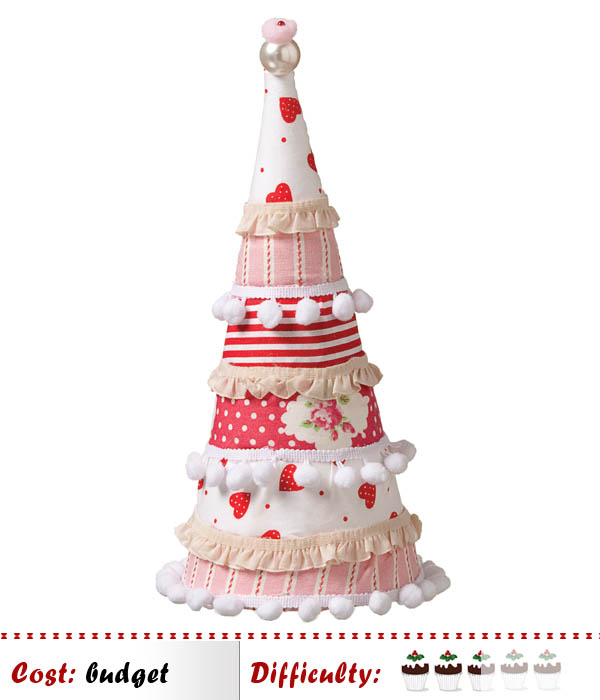

Supplies: Polystyrene cone, craft knife, selection of fabrics, fabrics scissors, trimming, fabric glue, pin and large pearl.
Time:1 hour
Difficulty Rating: Medium
Cost: €6
- This tree works to decorate a corner or have on a shelf if you aren't green fingered or live in an apartment where there's little space. Take your polystyrene cone and with your fabric knife make incisions two inches apart horizontally from the bottom to the top of the cone.
- Depending on the number of incisions you've made, cut out that number of lengths of fabric that are about 4cms wider than the widths on the cone.
- Starting from the bottom place your first width of fabric and with your fingernail push it into the incision and glue it to the underside of the cone. You will need to glue the fabric together where the two ends meet at the back.
- For your second width of fabric insert the top and bottom of the fabric into the incisions and again glue where the two ends meet. Continue this process until the entire cone is covered.
- Measure the amount of trimming you need by running it around the cone at the sections where any fabrics meet on the horizontal and cut accordingly.
- Glue your trimming where the fabrics meet and leave to dry.
- For the top of the tree take a large pearl or any other bead or embellishment and pin it in place.


